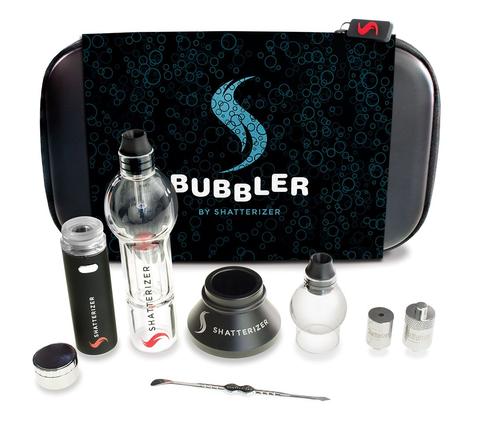
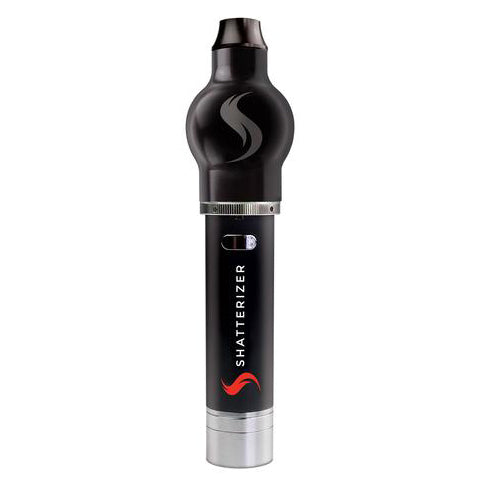
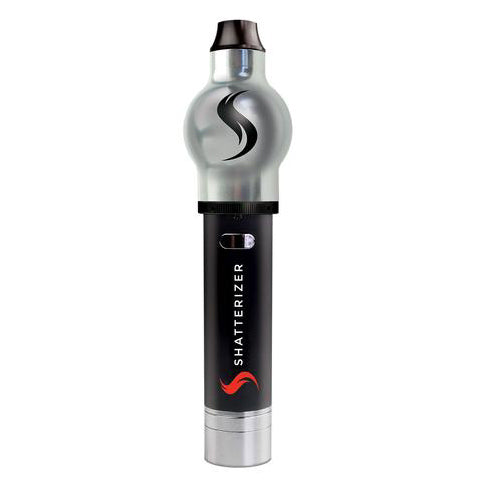
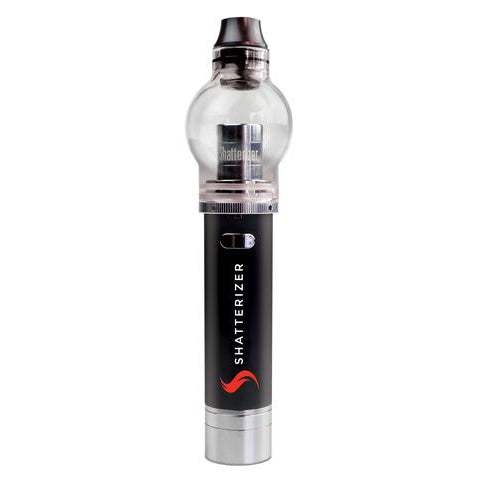
Please make sure your Shatterizer is powered OFF before cleaning.
To keep your Shatterizer working and tasting like the first day you bought it, please follow the following cleaning instructions.

For your borosilicate (pronounced bo·ro·sil·i·cate) glass top and resin mouthpiece:
Depending on how much residue there is, please soak the glass top and mouthpiece as a complete unit in rubbing alcohol, or when we run out we’ve been know to use our favourite clear “spirit”… ours is gin ;) You may also use a specifically recommended “bong” cleaner as your cleaning solution.
After a relaxing soak for 10 minutes, take some paper towel saturated in alcohol or your favourite cleaning solution (as previously discussed) and swish it around on the inside of the borosilicate glass. This should take care of most of it.

If you’ve heavily enjoyed your Shatterizer and not cleaned it for some time, please also blow on the mouthpiece while loosely putting some paper towel inside the borosilicate glass bulb. This will prevent any old material from building up.
Your next step will be to take a toothpick or a paperclip or something non-abrasive, and in a circular motion pick out any residue left over in the circular gap around the inner edge of the mouthpiece… you may want to repeat these last steps a couple times.
Lastly, simply wet some paper towel with solution to clean up any last bits of residue, and your Shatterizer should be good as new!
QDC Coils, Ceramic Coils and metal base:
Please make sure to turn your Shatterizer off before cleaning.
Then take a Q-tip and dip it in a little alcohol or your favourite cleaning solution. Push most of the liquid out – so the Q-tip is dampened but not wet. Once this is done, gently clean off any residue you may see on the metal base, and make sure to swab the connection piece where you screw in and out the coils.
As for the QDC or Ceramic coils, please follow the same instructions with the Q-tip. The ceramic coil is easier to clean then the QDC, and frankly, these pieces are meant to be replaced when needed, depending on how heavily you use them.
You can find our replacement coil section in the Accessories (and we provided you with a spare QDC in your Shatterizer Starter Kit). You can do your best to clean them to prolong their life, but keep in mind that they are meant to be changed out and if you feel like it is clogged even after attempting to clean it…please just replace them.
If you follow these simple cleaning instructions, you will preserve the life of your Shatterizer and it will continue to give you perfect clouds every time!
Please make sure your Shatterizer is completely dry before turning ON … Enjoy!
If you have more questions don’t hesitate to check out our Frequently Asked Questions!
NEW - Check out our Shatterizer Cleaning Video!
WATCH NOW to see how easy it is to clean and maintain your Shatterizer for #PerfectClouds. In about a minute through this tutorial, simply see what you need and how to clean it.


